USABILITY TESTING
How to create a synthesis and
affinity mapping board for user testing
Same approach to research synthesis and mapping only grouping
information that relates to tasks and screens + new insights/learnings.

1
Create a the synthesis board template
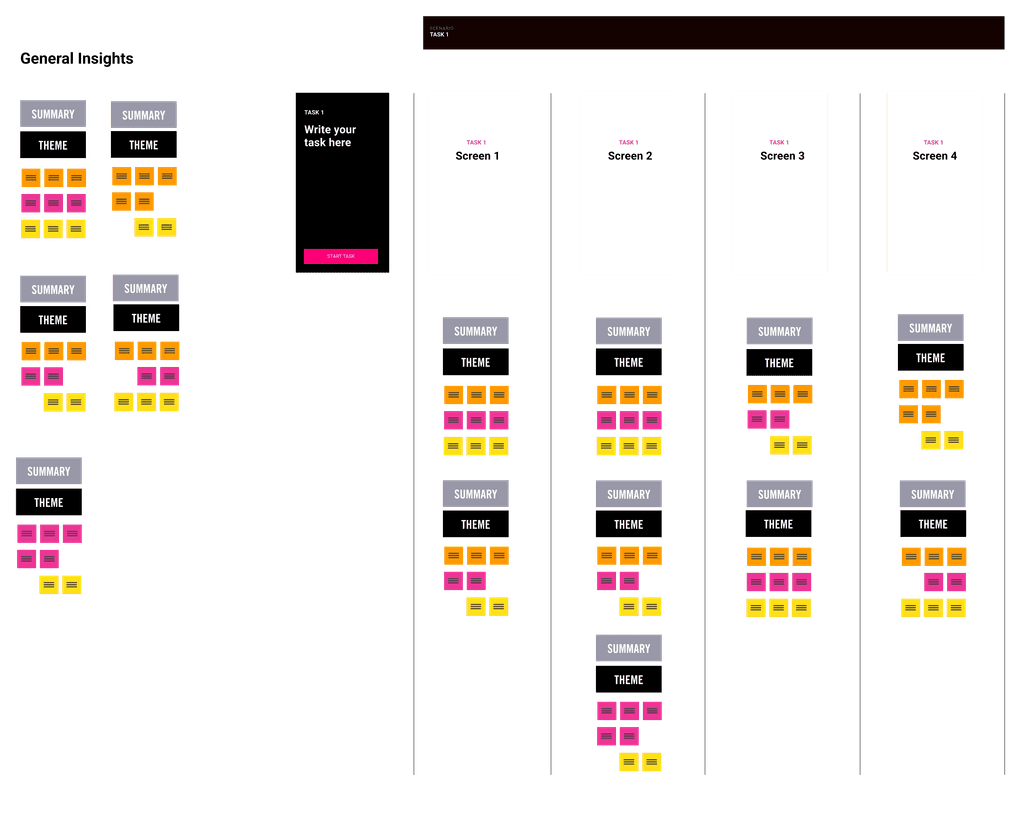
Once you have you're tasks & testing script. Create a figma board to use for your testing synthesis and affinity mapping. Then copy the task flows/prototype screens and place each task from left to right. Place each main screen that you're testing within it's own vertical bucket. Also create a space to capture the synthesis insights per sticky note
EXAMPLE

2
Go conduct testing sessions
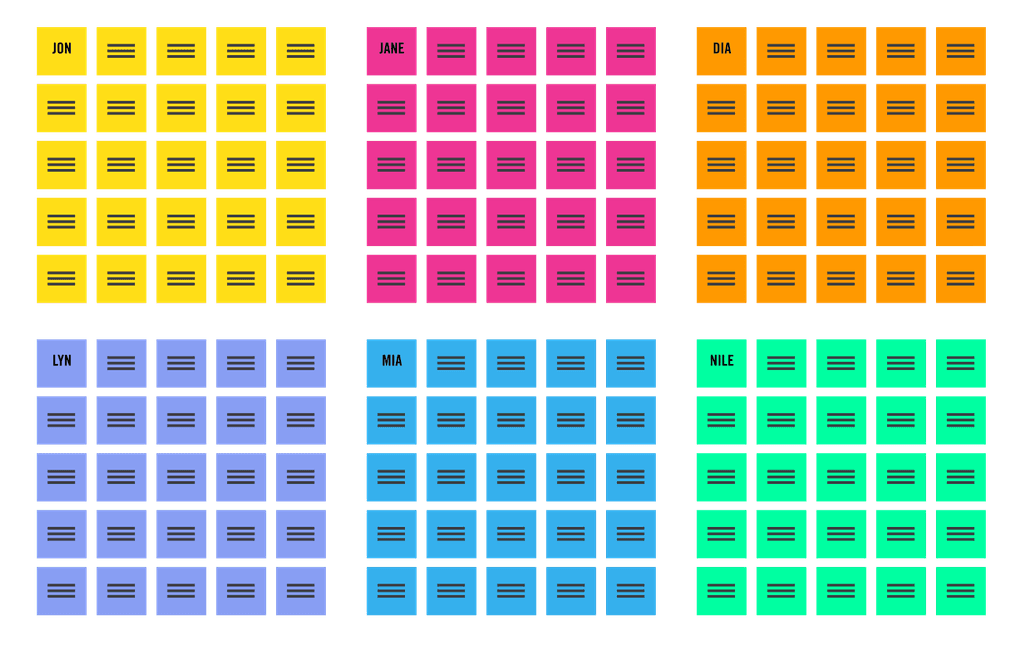
Follow the same guide for researching (one color per session).
You can also start affinity mapping insights to the board after the first session.
Unlike research affinity mapping you don't have to wait until you have 5-7 completed, do it while it's fresh
View in the testing guide to see more about conducting & recording usability test

3
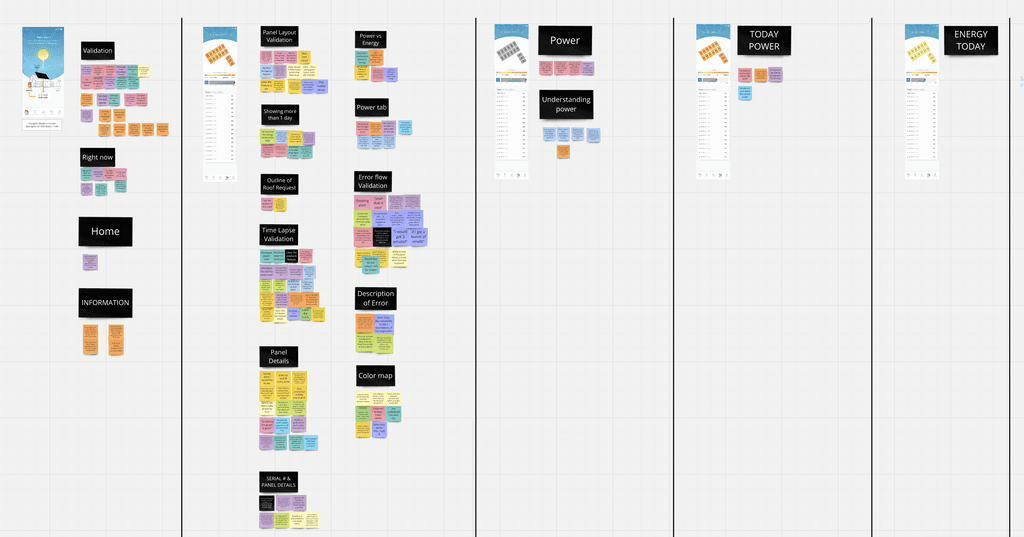
Start affinity mapping/clustering themes
Place relevant insights underneath each screen bucket.
Add a theme for each pattern that you're finding within each screen bucket.
Also, create an area for general patterns or learnings that don't pertain to anything that you're testing (similar to research synthesis and mapping).
In general you're looking for patterns of:
• Joys (don't just capture confusions, you want to capture delight as well)
• Usability (ease of use or friction)
• Confusions & pain-points on usability
• Observations (ie: they initially though this button did something different than what it actually does)
• Requests (some patterns around missing content or features)
• Document if each user was able to complete the task or not
Best to synthesize & affinity map after each session while insights are fresh
EXAMPLES BELOW


4
After testing is complete
Go through each "theme" and summarize the findings into more bit-size digestible insights. Use these summaries to document any reasoning, iterations or decisions made on validation or invalidations. This will making sharing out quicker and allows others to review the large take aways quickly.
EXAMPLES BELOW

It's also not a bad idea to capture the action items as a separate section as well, see below:


5
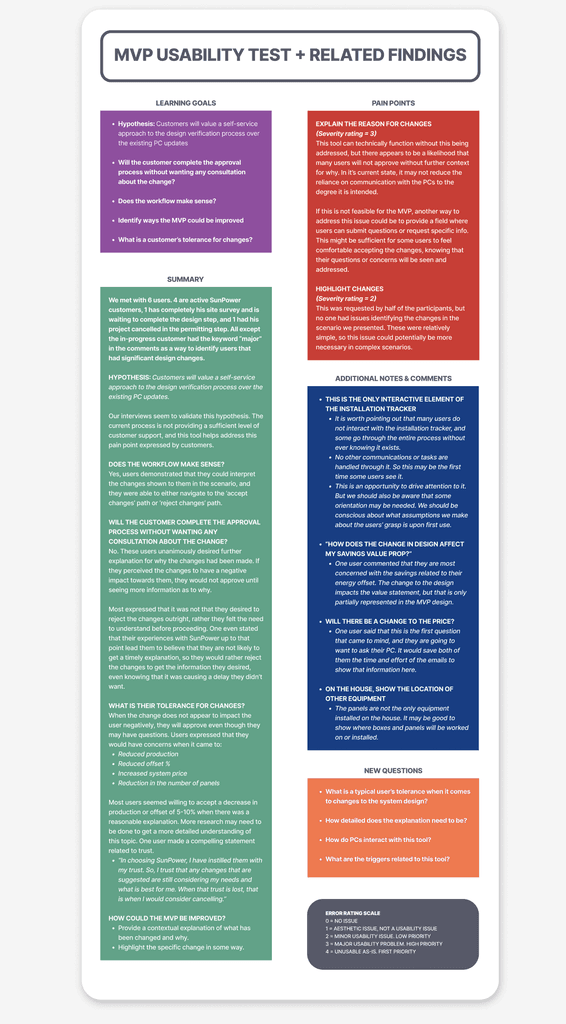
Summarize the entire testing effort into a over view, connect the dots on what is important based on our initial learning goals, assumptions and tasks. You can include the following:
• What we learned that we knew already (known, knowns)
• What we learned that we didn't know that's important (unknowns)
• Rate or speak to specific task completions
• List top pains/confusions that were identified (include quotes)
• List top validations that were identified (include quotes)
• List out the action items going forward
• List out product changes (iterations)
Capture this in one document that you can use to share.
You can use this framework below

REAL WORLD EXAMPLE:

6
Move forward with next steps:
• Agree on what needs to be changed or iterated on
• Agree on anything that is not needed
• Go schedule share-outs with team & stakeholders etc..
• Start scheduling another round of testing if needed
—if you plan on changing anything drastically, then best to create a new testing board to capture this next round of testing. Usually in most cases it's best to separate the rounds of testing so we can see how things improve over time.
***Very Important***
Don't iterate without making a copy or historical record of the existing screens you are testing. You may need to show these in presentations or case studies to show side by side the before and after iterations.