FINALIZE CONCEPTS SKETCHES
PICK 1 CONCEPT/IDEA YOU
WOULD LIKE TO MOVE FORWARD WITH.
MOST IMPORTANT. GET THE HAPPY PATH USER EXPERIENCE WIRE-FRAMED AND PROTOTYPED
FOR NEXT WEEK. Low TO MID LEVEL FIDELITY.
NEXT WEEK, WE Will GO THROUGH USER TESTING BEST PRACTICES, CREATE TASK(s)
AND CREATE USER TESTING GUIDE.
START REACHING OUT TO PEOPLE TO TEST YOUR APPLICATION WITH SO YOU GET A HEAD START ON THIS. USER TESTING AFTER NEXT WEEK...
YOU CAN TEST WITH THE SAME PEOPLE THAT YOU TALK TO DURING YOUR USER RESEARCH
EXTRA CREDIT
USE A CUSTOMER JOURNEY MAP
OR SERVICE BLUE PRINT (FLOW CHART)
AND MODEL YOUR HAPPY PATH
CASE STUDY
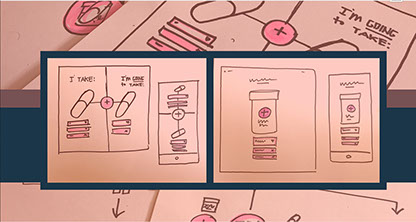
ADD PICTURE OF SKETCHES
// CASE STUDY example
// CASE STUDY OUTLINE
CREATE A LONG FIGMA
FILE AT 1400 pixels WIDE
-
DON'T PUT ANYTHING
HERE. Your will do this
section at the end.
Just create a space for
the content..
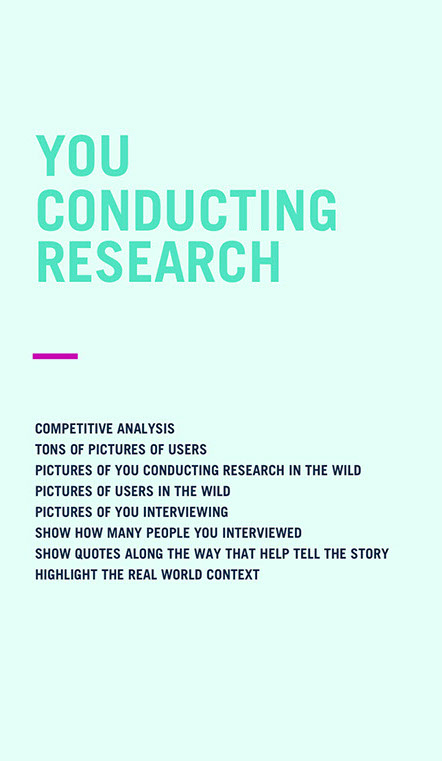
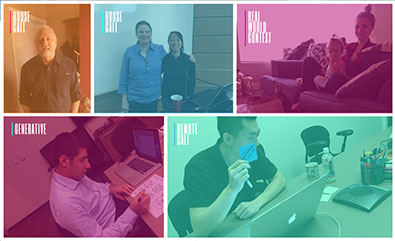
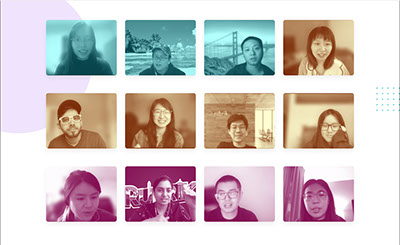
Show pictures of the people you
interviewed
Another example:
Introduce the research
Show how many
people you interviewed
in a visual way


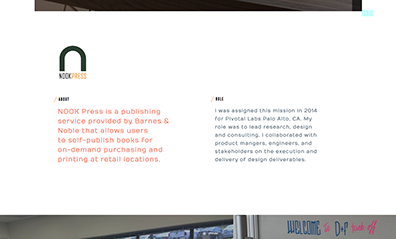
Create the layout.
Just put your role
and a placeholder logo.
You can add the about
section later. Use
placeholder text.
_
Make your goals look good!
Make this just placeholder
You will come back later
and update it...
ADD "PRODUCT GOALS" TITLE
ADD "BUSINESS GOALS" TITLE
You can copy fake text from
hipsum.co


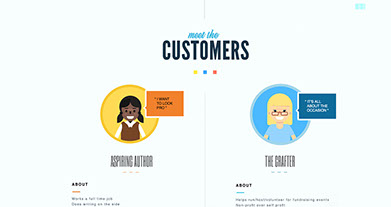

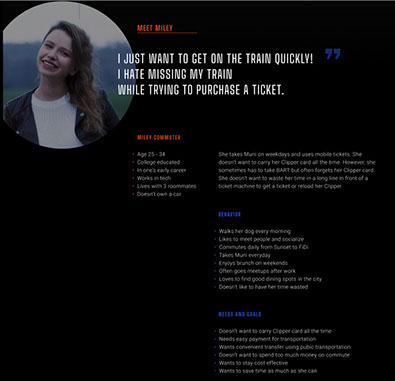
Introduce your Target Audience
Don't use the persona yet. Just
user profiles here.
• Their Persona Names:
– Olivia Online
– Heather Healthy
– Sandy Sustainable
• About them
– Describe a little bit of information about them
– Just describe a day in the life"
– Just their goals/motivation (not problem)
Show some learning goals
Show 2-3 questions under the learning goal
Show pictures of your users
-
You can also show a page from you
user script or topic map.
-
You can have a link to your
user script as well.

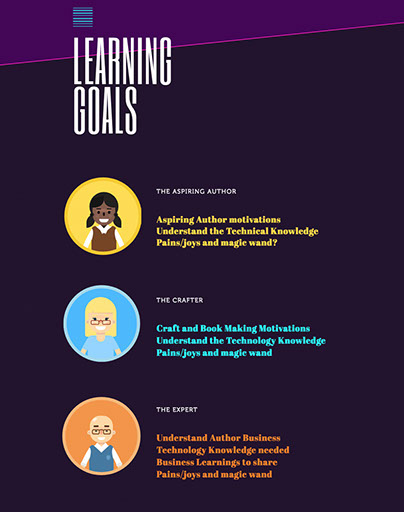
SHOW LEARNING GOALS
SHOW A 2-3 QUESTIONS UNDER EACH LEARNING GOAL
SHOW A PAGE FROM YOUR RESEARCH SCRIPT
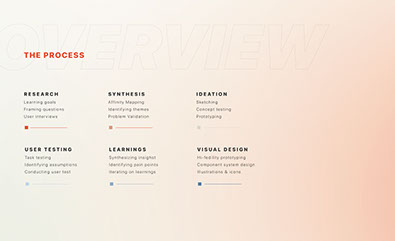
INTRODUCE THE PROCESS OR
THE CHAPTERS OF YOUR
CASE STUDY.
• RESEARCH/DISCOVERY
• RESEARCH INSIGHTS/LEARNINGS
• PROBLEM VALIDATION
• IDEATION/CONCEPTS
• WIRE-FRAMING
• USER TESTING
• FINDINGS/LEARNINGS
• FINAL PROTOTYPE
Trista's example
INTRODUCE THE PROCESS

GOOGLE SEARCH "UX PROCESS"
The
Synthesis
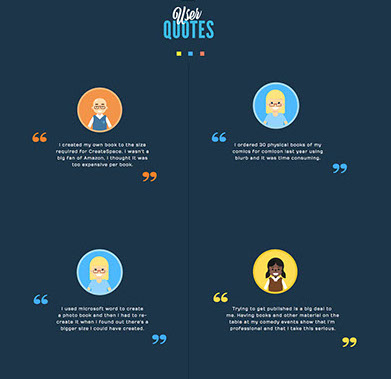
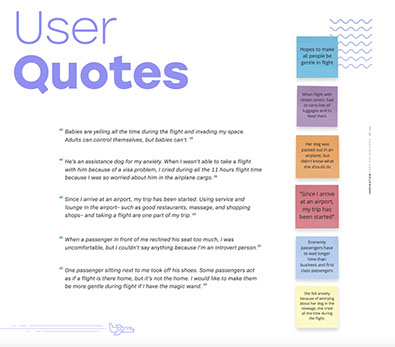
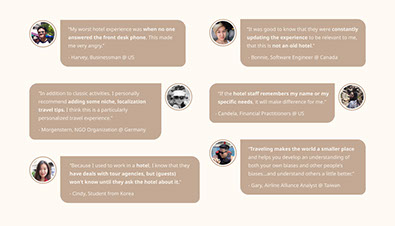
Show a couple very interesting quotes
that help you build your case on why you
are focusing on a certain problem.
-
Remember:
• Design like a scientist
• Decide like a lawyer
Another
example
here
Another
example
here
(NOT MANDATORY)
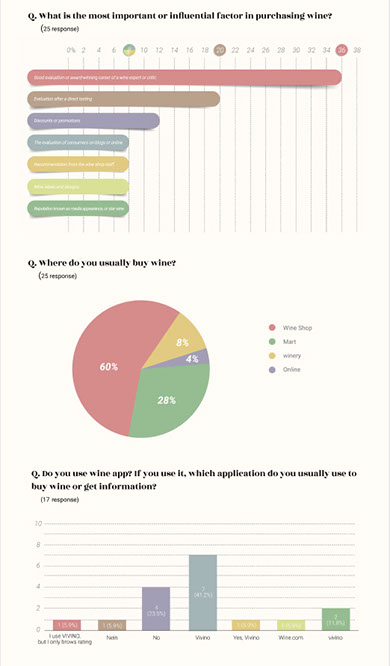
If you sent out a survey to collect
data then:
-
Show some of your survey responses
-
Highlight some key responses
MAKE THEM SUPER
PRETTY DON'T JUST SCREEN
OF WHAT GOOGLE SURVEY LOOKS
LIKE - RE-DESIGN IT
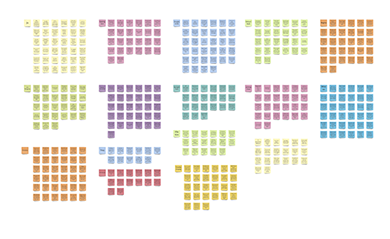
Introduce your synthesis:
• Have text that says "The Synthesis"
• Show the pictures of user buckets
done in Miro
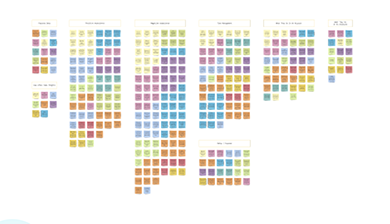
Show your Clustering:
• Have test that says
"The patterns & themes"
• Show the pictures of your patterns
done in Miro
The
Synthesis
The
Patterns
& Themes
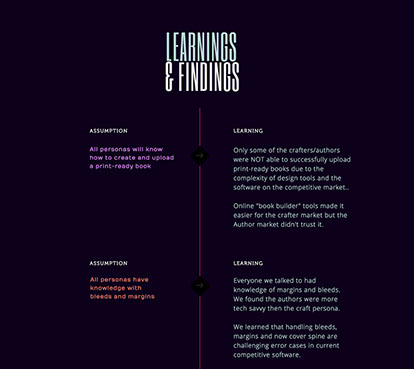
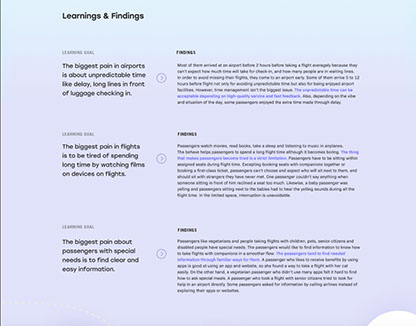
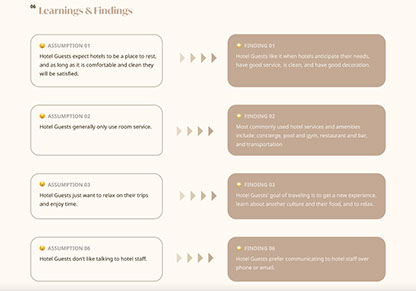
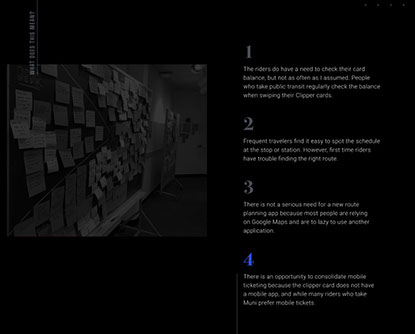
LEARNING & FINDINGS
PUT YOUR LEARNING GOALS OR ASSUMPTION on THE LEFT & YOUR FINDINGS ON THE RIGHT.
LEARNING GOAL
LEARNING GOAL
FINDINGS
FINDINGS
LEARNING GOAL
FINDINGS
LEARNING GOAL
FINDINGS
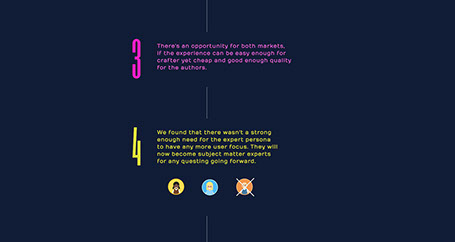
Put your key insights
next to your learning goals
—
What did you learn about
your learning goals?
—
What were the patterns that
you found?
—
How many people said this
pattern? ex: 14/19 people said "_"
Another example
Another example
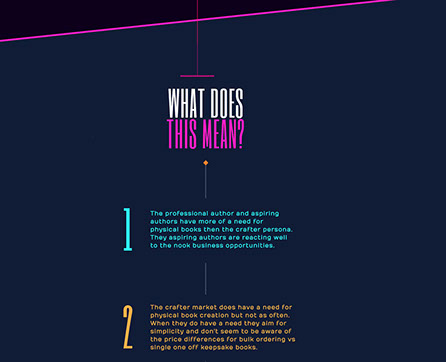
You can create a section
like this to CALL OUT the
decisions you made based off the learnings above.
—
Explain why you are going to focus on a certain aspect of the problem you learned.
—
It does not need to be more than one decision. It can be just one decision. This is the place to call out the reasoning behind the problem you're focusing on.
—
This is also a good section to explain why you're not going to focus on a certain problem or why you chosen to not focus on a certain persona group.
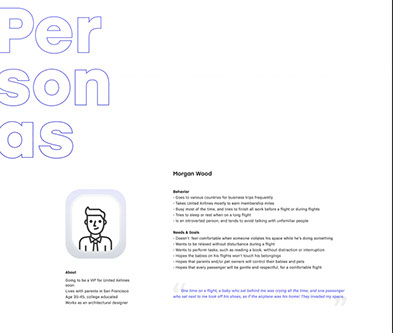
Introduce YOUR
PERSONA(S)
Add some copy that says:
I took all my learnings from research and created an PERSONA(S)
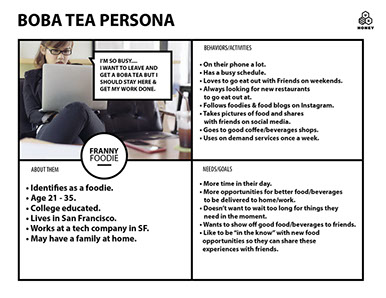
PERSONA
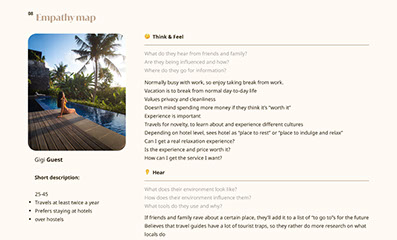
OR EMPATHY MAP
HERE.
MAKE IT LOOK PRETTY
-
EMPATHY MAP ONLY FOR
PRIMARY PERSONAS
• USE THE PERSONA FRAMEWORK
FOR SECONDARY PERSONA TYPES
IF YOU NEED
PERSONA HERE
EXAMPLE HERE
PERSONA HERE
EXAMPLE HERE
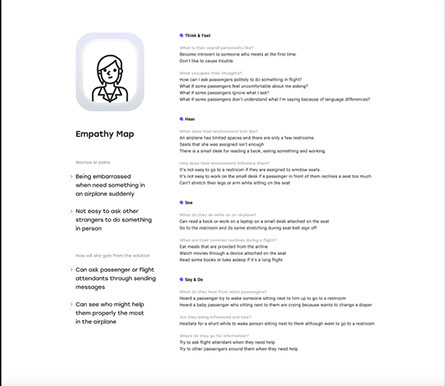
IF YOU WANT
DO A EMPATHY MAP,
THE DON'T SHOW
THE PERSONA
AND REPLACE IT
WITH THE EMPATHY MAP.
MAKE IT LOOK PRETTY.
WRITE YOUR PROBLEM
STATEMENT
SHOW SOME SKETCHES
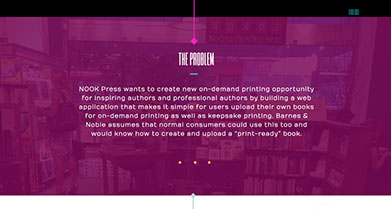


Make your problem statement
it look good! You can use the
problem statement framework
or just write a nice 1-4 sentence
description of the problem.
You can write a solution statement
-
Brief description about what your solution will do.
Show picture of sketches:
You can show the 4-up
sketches we did or ui
sketches that you made.